So I spent today (literally nearly all of today, although I was kinda slow to get going) working on the A4. Having cleaned up the mainboard when I stripped it out (here), and having ordered the bits to fix it which all arrived immediately before I went away, today I girded my loins and took the board out to the garage where the big girl toys are.
I have been kinda hesitant about this because it’s a lot of surface mount repair work, and my soldering is not amazing. But anyhow, the bits have arrived, I’ve spent money on it, so… off I went.
The recommended method for getting the capacitors off the board is to cut them in half – cutting vertically down the capacitor using side snips – and running perpendicular to the solder pads. You can then chop the rest of the capacitor remnants off, leaving just tiny stubby legs still attached to the solder pads.

Which worked pretty well for most of the pads, but unfortunately for several of them, the pads were no longer attached to the board, and (as far as I can tell) were corroded to the point they weren’t really attached to anything else either, because they came off with the solder and the track back to the via either when heated (to remove the leg remnants), or came off when I was cutting the capacitor off (on the two where that happened the opposite leg+pad+via came away while I was cutting the other leg from the shredded capacitor remnants).
That led to a lot of fun with modwire – which I used to poke through some of the vias, and reconnect to the via on the other side of the board.

I also replaced some missing capacitors (no idea where they went)

After some debate, and a little test of whether I could or not, I decided against reflowing the solder on the really shonky looking resistors and capacitors in a couple of areas of the board that seem to have suffered a lot. I kinda feel like I should replace them, but I’m also not convinced I’ll be able to do so successfully, so I’d rather leave that and attack it if necessary.
I also pulled the broken contrast/brightness (not sure which) control and replaced it with the one from the spares board I picked up while I was in the UK. That was a pain – not least because it turned out that there is a solder pad that seems to just exist for stabilization (it doesn’t appear to have any tracks running to it – and that fell off when heated. Of course, it didn’t fall off the *spares* board – oh no. But unfortunately the spares board has got transformer problems and overheating problems so I don’t want to use it in the functioning A4 because I’d have to replace…everything else on it :-/
Anyhow, the computer is ready now, I think, to be reassembled… Apart from the Acorn A4 sticker which I need to work out how to remove. I’m kinda thinking acetone… but also scared to try it.

In other news, the Cambridge Z88 turns out to work just fine – although I don’t think it likes NiMH batteries. I’ve ordered a cable to connect it to a modern computer – and if that works then I will have a thoroughly distraction free typing device that I can take absolutely anywhere. I’m quite excited about that.
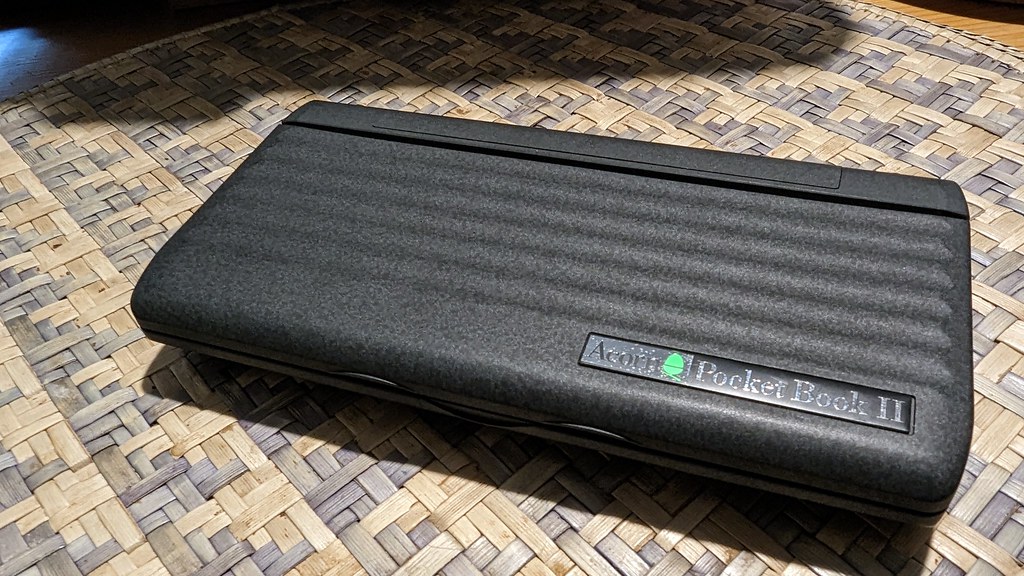
I also, because I didn’t think I was going to get the Z88 got…an Acorn Pocketbook II. This has the advantage of being tiny – and the disadvantage of being broken. That I may use to take to work for typing… although I do wonder if I should have sprung for a Psion 5MX, ISTR they have much better keyboards.

It needs a new cable – and I just watched a video on dismantling them… ooof. That’s more complicated than I realized. So, err, that might take a minute.