So, for all of my wailing and gnashing of teeth yesterday, after another unfortunate *oh, arse* moment this morning (where configurator turned my machine into toast, again), today the install process has actually gone completely smoothly. I think knowing what you’re doing, and what order to do things, makes things go much more smoothly (doh).
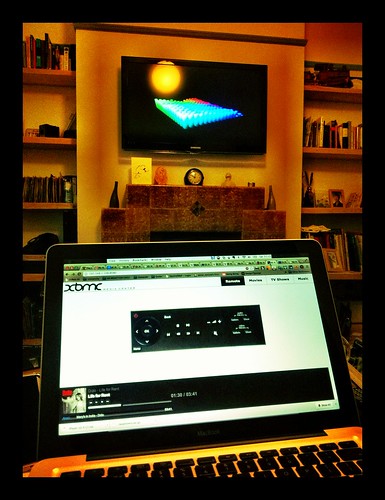
So, just incase it all goes splutch, and my imaged file systems won’t restore, without further ado (or adieu, as they like to say), here’s the process I used for getting my Raspberry Pi running Raspbmc and displaying track names on the GPIO-attached-LCD handy handy text display. It goes a bit manic with films, but what can you do. The backlight’s controlled by a switch on the display’s case.
The process that worked:
– Using a fresh (that day) python installer for Raspbmc. Using the one which had worked before reported no errors until the Pi was trying to download the Raspbmc data at which point it would simply fail-and-reboot (with an error that had previously been indicated to be related to github being down. It wasn’t. And while I don’t know what the source of the error was, using the fresh-baked that day installer fixed it).
– Using a Class 10 SD card (much, much faster than my old Class 4 card which may have caused some of my problems – and made the Pi dog slow in XBMC).
– Before commencing installation, whilst the card was still mounted on the Mac, editing config.txt to include the MPEG decoder licence (add other licences in Raspbmc settings in ‘programs’ on XBMC I think, but I’ve not tried yet).
– Let the Raspbmc installer finish, then Tweak install settings (locale, etc…) and reboot.
– Install and configure LCDProc and the relevant Raspdrivers as per the link to techfruit. Note: There is an LCDProc plugin for XBMC – I missed this, and it might work perfectly.
– BACK UP THE SODDING CARD TO AN IMAGE!
– Put on a bunch of plugins (like iplayer (has to be install from a zip archive here) and youtube and MTV…
– Get it to scan your video and music libraries, ensuring that the naming convention for files is appropriate. (Video|TV).
– Remote wise, I’m using the standard (free) xbmc remote called ‘xbmcRemote’. Previously I tried ‘XBMC’ but just could not get it to work.
Things I tried that didn’t work:
- The Raspbmc prebuilt image (RC5). Resized disk and then spectacularly crashed.
- Reusing a previously downloaded Raspbmc installer
- Using a Class 4 SD card (I bought without checking – the Class 10 seems happier).
- Trying to use ‘configurator’ – whilst this worked the first time I installed, every time after that it just hosed start.elf. I’ve no idea why.
– Install configurator to add the MPEG licence (and the V(I did this via SSH):sudo -s
cd /usr/bin/
wget http://www.juicypi.com/downloads/configurator
chmod +x configurator
configurator
exit– Reboot
- Not backing up frequently enough. I know it takes ages, but it’s worth it.