So, I restart my course next week (it was meant to be this week). Between that and the house things may get a bit less frequent here. Although they’ve been staggeringly infrequent this month because we’ve been desperately trying to get as much as possible finished…
….and Kathryn’s been doing laptop-requiring stuff. Those two combined have meant that when I’ve been using the laptop I’ve been chilling out (maxing
and relaxing all cool; obviously) and dinking on the nets, rather than posting anything. There has been a fair amount of progress here… so, err, shall I ramble?
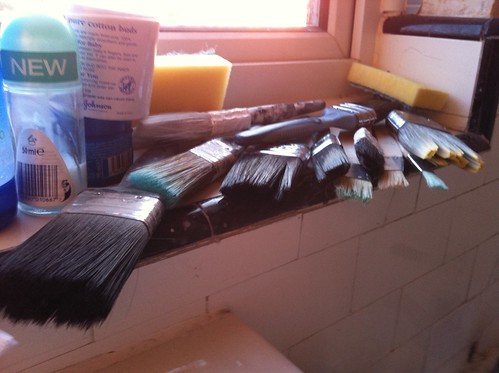
Our new plasterer did an excellent job upstairs; most rooms were just reskimmed. The original skim was incredibly thin anyhow – and both felt that another coat wouldn’t cause any long term problems. The cracks were taped, the bits of adhesive we couldn’t get off sealed, and the ceilings now look quite lovely. It’s amazing the difference it makes…
The ceilings now looking pretty nifty we set to on the walls. Having sealed them we decided in the end to paint them with crack-filling paint such that we could decide how much we wanted to fill. It turned out the answer was ‘quite a lot’:
The problem is, the walls looked okay until we started to clean them, the plaster would then reveal it’s crumbly state (in some places) – which would get worse as things went along. Finally you’d end up with filling hundreds of small divets (as you can see) then sanding the whole wall down. The first room I did that before I put sealant on the walls…then found that the walls would disintegrate more around the filler. Then I discovered the really smooth filler we’re using (which I am much enamoured with) dissolves in sugar soap, or indeed in plain water, negating the effect of all that hard work filling. The process eventually became:
– Sugar soap
– Sealant
– Filler
– Sand
– Dry dust
– Paint with crack filling paint
– Clean up trim and properly clean room
– Paint with top coat
This seems to have led to paint which sticks to the wall fairly well (sticking to the filler’s still a bit dubious, but so long as we don’t apply masking tape to it again it should be okay…I think) and a pretty good finish in the rooms that we’ve done.
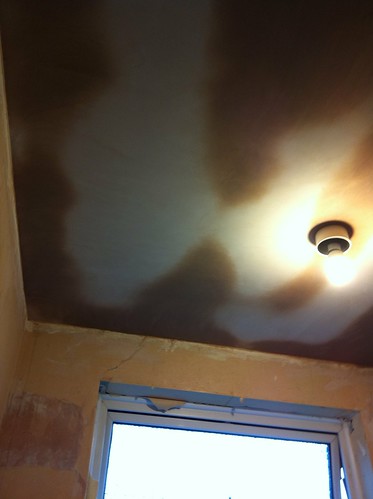
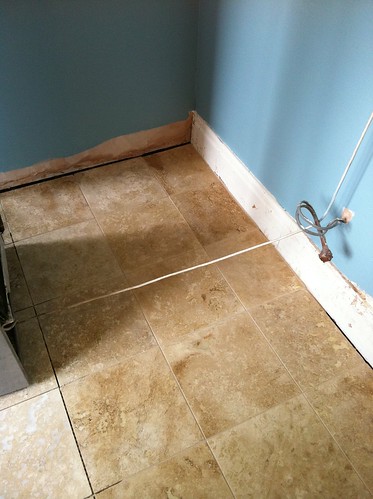
While we were away in Scotland (another post I need to do!) we had the floors refinished upstairs. We’re still waiting on a little remedial work on the stairs (they used ‘light oak’ coloured filler to fill the screw holes on pine stairs with a red tint – almost a pale mahogany colour) – but the upstairs looks awesome. The house stank when we got back… anyhow:
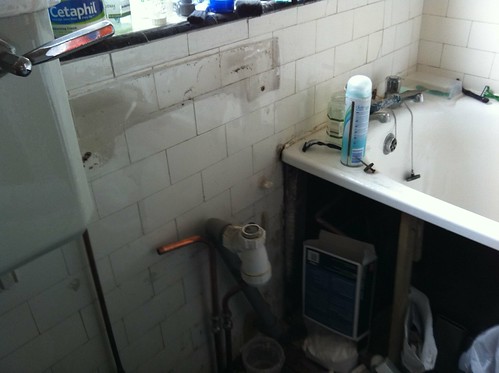
Unfortunately, while working in the kitchen (and taking down the old, now filthy velour curtains) I had a bit of a disappointing discovery:
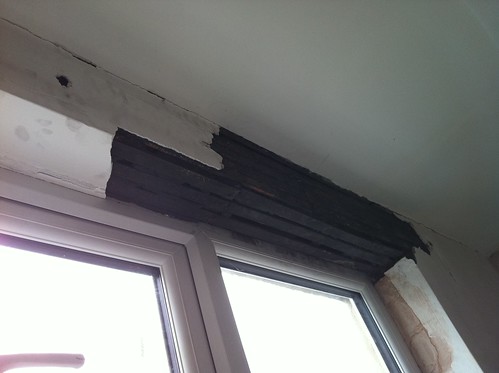
The plaster over the lintel was, as is appropriate for a house this age, lath and plaster. The laths had come loose (probably when the window was changed) and the plaster was barely attached. Having pondered the problem for a bit I gave in and went out and got a bucket of plaster. It’s now got my version of a scratch coat on it, and I need to hoik myself back up there and put the top coat on because it looks awful at the moment. I took some time (and some nails) and reattached the laths once I’d cleaned them up a bit. Hopefully it should be okay. The whole lower surface could really do with taking down and replacing, but that’s quite definitely beyond my plastering skills.
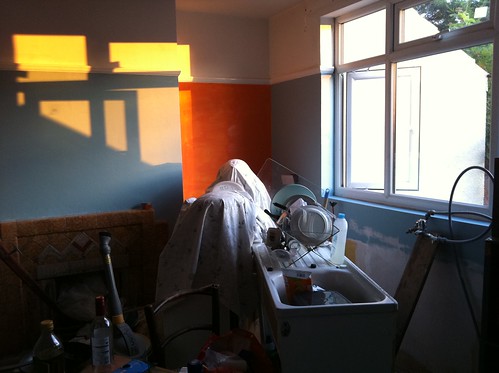
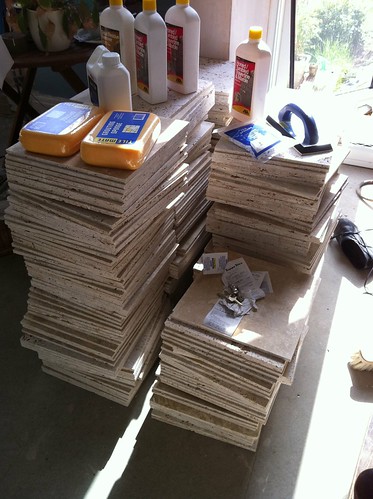
In other areas there’s also been some progress. With some effort the kitchen was largely cleared, we went out and bought (too) many tiles*.
And this was the mid point result:
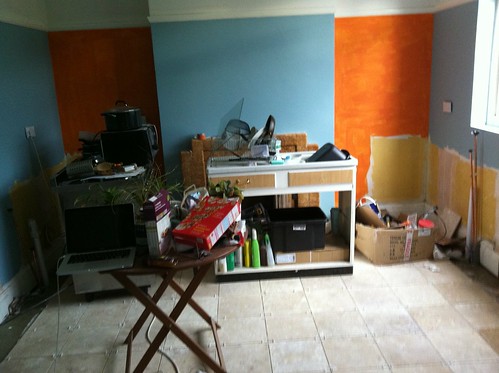
Currently, where the fridge and cooker lurk is the only bit that’s actually grouted and sealed. There’s only…the rest of the floor to do. And the dining space to tile… *whimper*. Kathryn’s cleaned up the corners, and put the pre-grout sealant on, so over the next few days I’m hoping to get them grouted and sealed.**
As a side point, the orange bits of the wall – they’ll be a more uniform orange when they’re finished. That’s just the first coat.
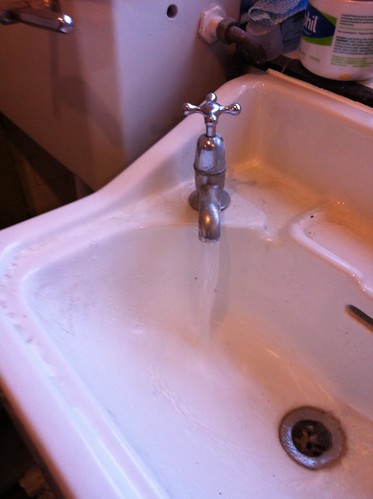
As part of an attempt to make the house a bit more useable, I also removed the 1980’s white sink from the bathroom and replaced it with our 1930’s sink. This turned out to be the usual level of fun, the taps on it having not moved since the thirties and the realisation that the taps are the opposite way around to the existing ones lead to some fun and games with the plumbing. Having spent some time trying to persuade the taps off, or even to debate the possibility of off, perhaps come to a meeting about considering the future possibility of discussing coming off – and being unsuccessful, I stared at the plumbing for a bit and decided I could probably hide the cross over required at a height that’d mean you’d only see it if you were, say, grovelling under the sink. Or a small child. So I went ahead and ripped the old (and slightly broken) sink from the wall.
Then I discovered that our bathroom wall is made from a material which more or less laughs at my hammer drill and expensive wall-drilling-drill bit. It kind of went like this:
– Gentle careful drilling through the tiles (original 1930’s tile :) )
– Putting all my weight on the – now in ‘Hammer’ mode – drill and moving it forward at a mil’ every 10 minutes.
– Suddenly, the drill bit’d make it through the layer of god-knows-what and into the brick and I’d find the drill attempting to embed itself in the wall.
– Rinse, repeat.
This done, the cast brackets were mounted, and the greenwashed ‘ecofriendly’ silicone sealant applied to the back of the sink. The sink lifted into place and after some cutting of pipes and playing with the very few 90’s I had it fit rather well.
There may have been maniacal laughter at this point.
I still need to change the waste pipe, because we have a pointlessly expensive chrome waste pipe instead of the nasty push-fit plastic one that’s there.
There is, I’m sure, a faint irony to putting back something that probably more or less matches what was ripped out to modernise the house.
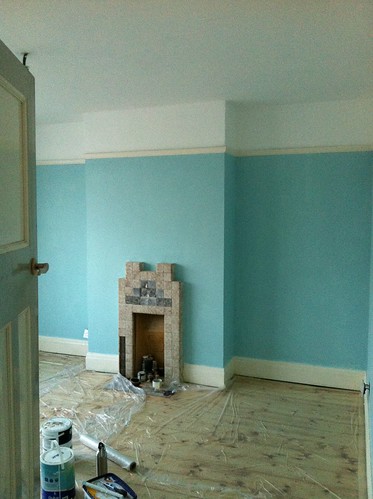
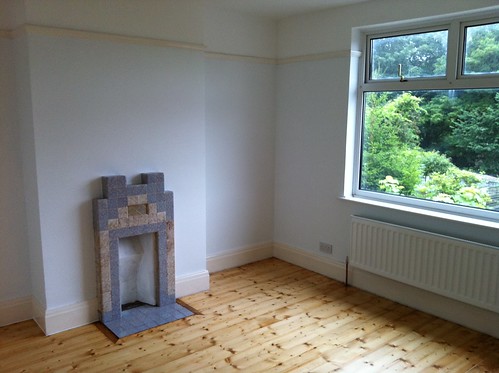
As we’re now planning to move into the bedroom properly – as in actually be in there, with clean furniture, and no intention to move it again in the near future – really properly actually moving in, we’ve been on a quest to find some wardrobes to fit in the alcoves either side of the fireplace.
Incredibly, our search was fairly promptly rewarded:
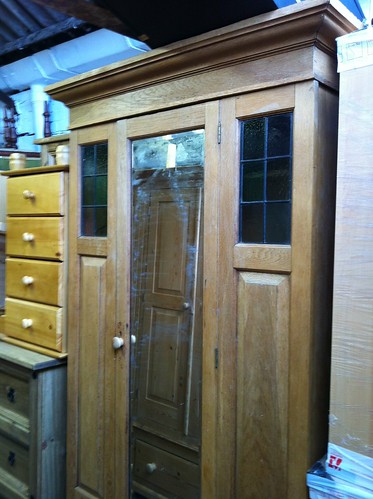
It does need a new mirror, and had I lots of time I’d give it a gentle renovation (the joints are iffy, the back panel’s a bit loose) and send the drawer to our joinery person ‘cos it’s got a chunk missing from the corner and that’s definitely beyond my limited carpentry skills.
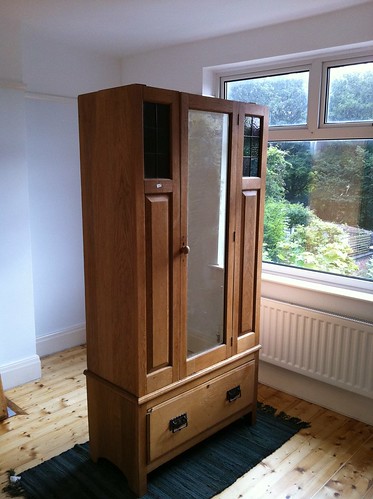
That arrived on Monday and is now lurking waiting for some little felt pads to go under it (try and stop it scratching the floor)
We now need to find something which is similar enough to go next to it. I rather liked this Edwardian Compactum on e-bay, but it went for vastly more than we could afford and the shipping on it was a killer. So it’ll have to be patience (never one of my strong points) and hunting. At the moment we’ve got our 1940’s utility tallboy which, following a good clean, should do us until we can find something more appropriate.
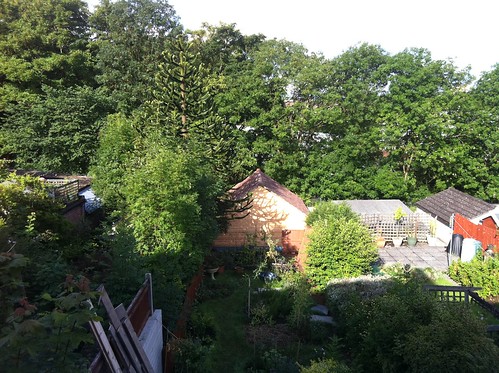
As a side point, because I don’t think I mentioned it when it happened. The garage roof is now complete, indeed, apart from lacking electrics, the garage is now complete:
And I’ll have to tell you all about something I bought and have put in there some other time….
* Moment of distraction while calculating: Added room length (kitchen) to room length (dining space) then should have multiplied by room width (widest bit of kitchen). Instead for reasons that escape both of us, we both ended up doing that multiplied by room width (kitchen) + room width (dining space). Then having worked out how many tiles we needed I added on my traditional 10% for breakage / cuttage. That was a *lot* of tiles. Quite a few of which need to go back now…!
** Although my nights-clumsyness has lead to me dropping*** our iron on the floor and breaking one of the new tiles. Thankfully it’s under where a unit will be, but it’s really quite pissed me off.
*** Actually I knocked it off the ironing board and it fell down point first. This being our iron, it’s not particularly light.